How to use a tile leveling system
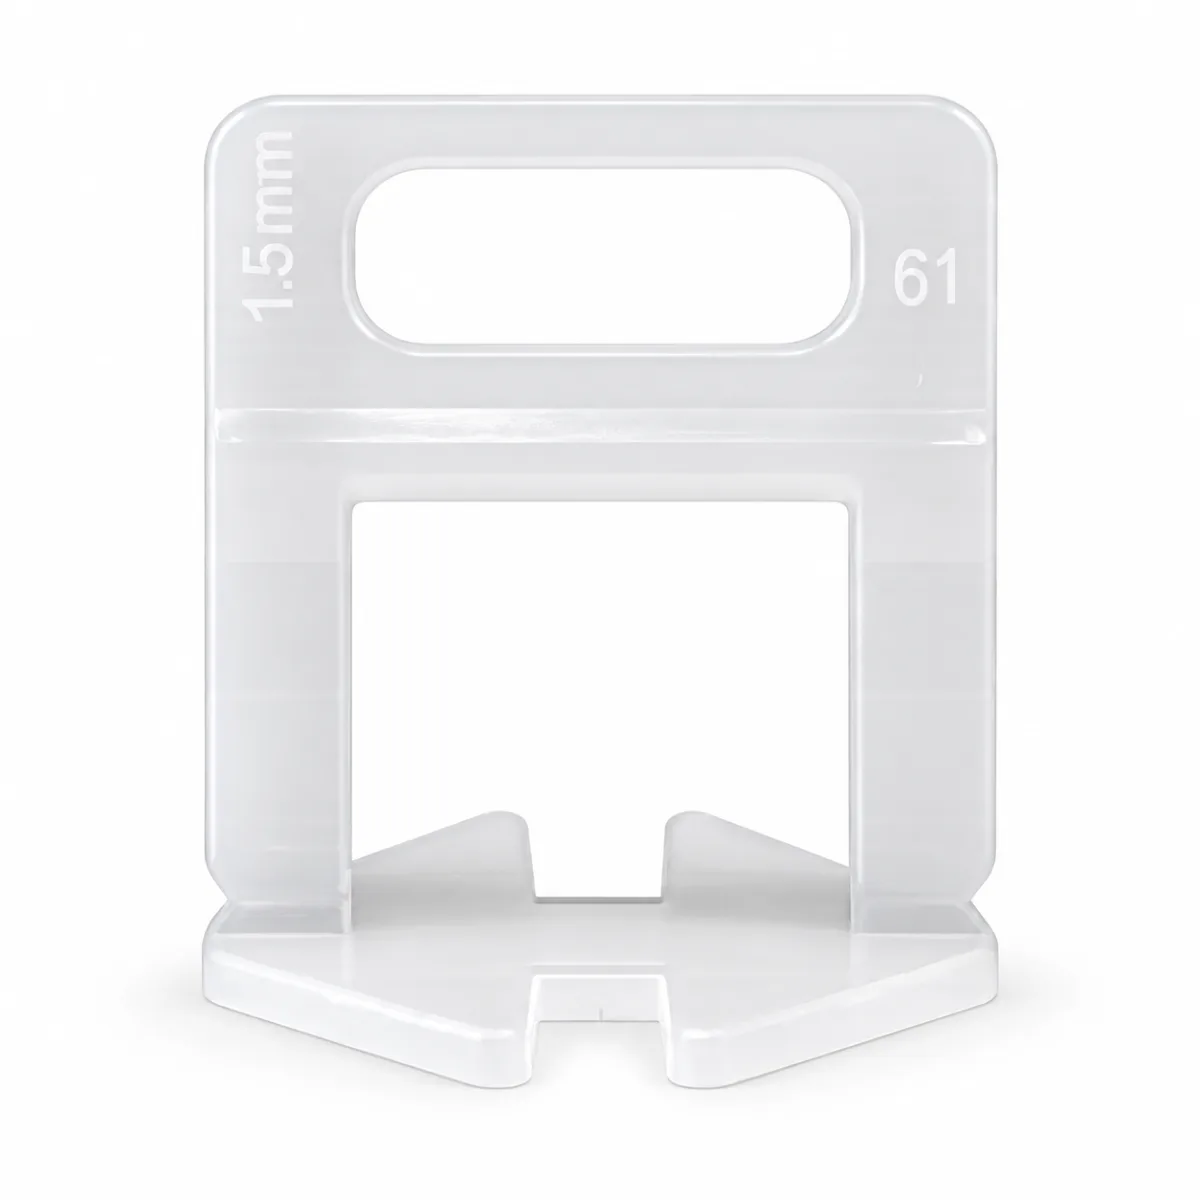
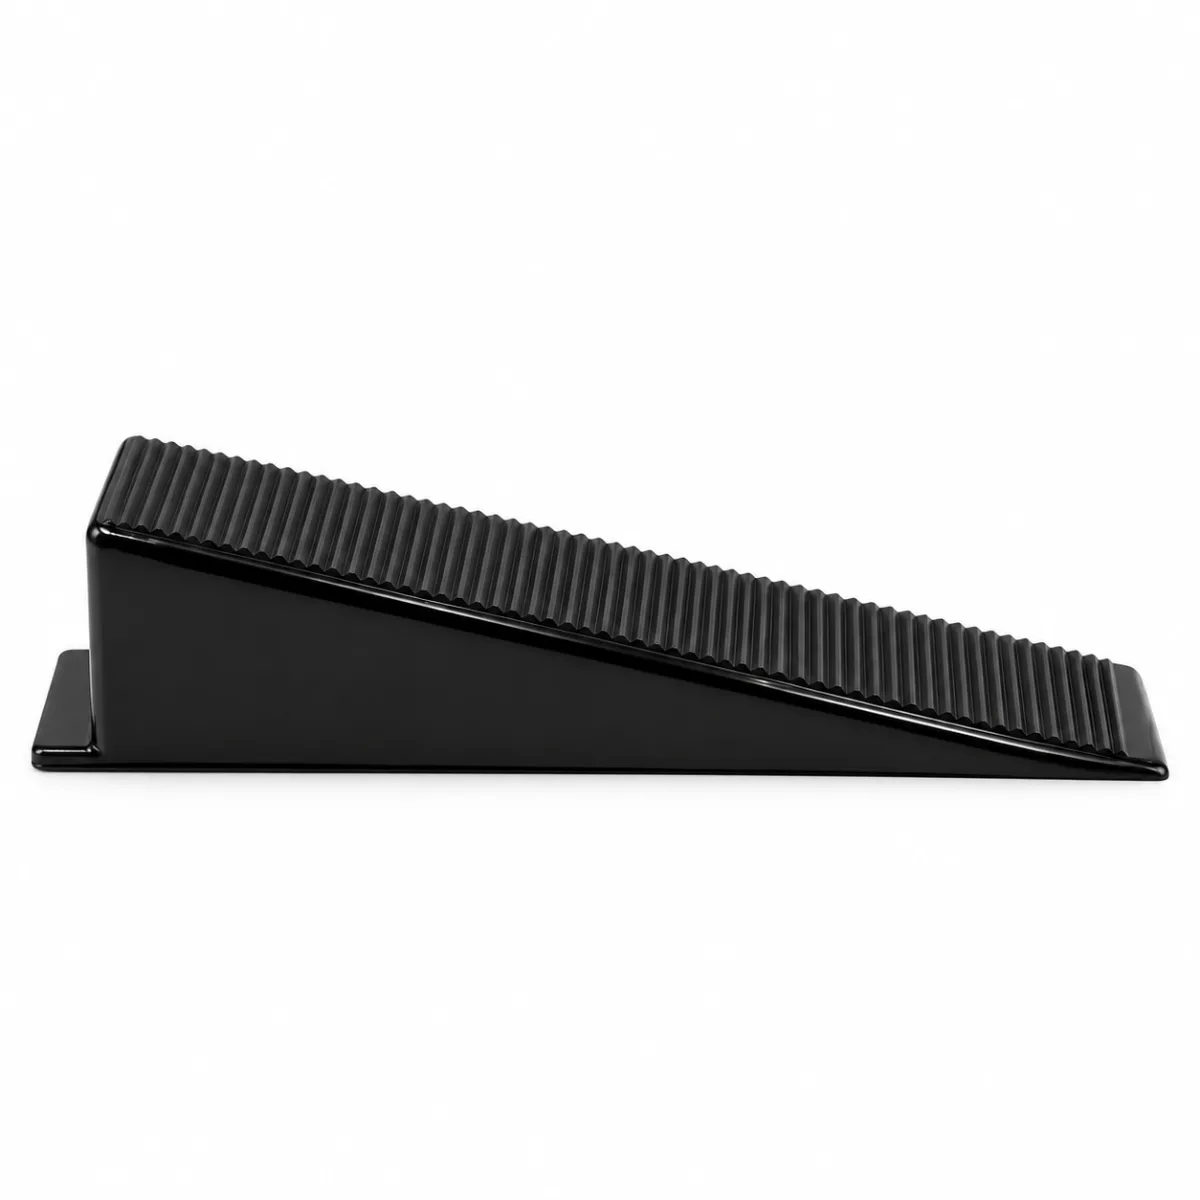
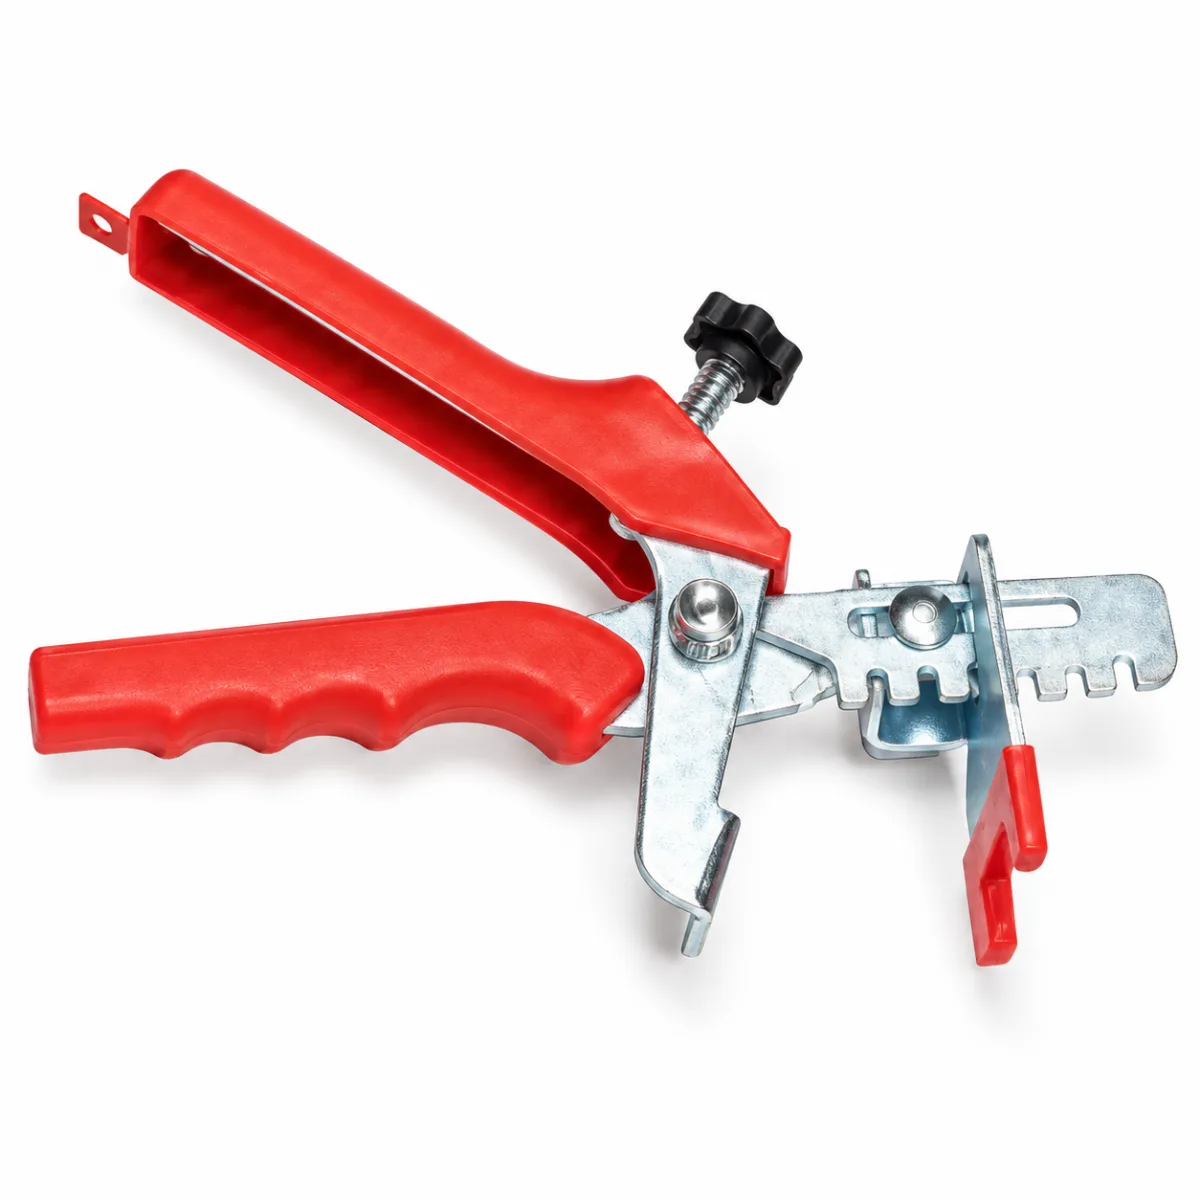
Bed each tile in thinset, slide a clip under the edge so it straddles the joint, push a wedge through the clip and tighten it with a plier until the tiles sit flush. Leave everything in until the thinset has cured enough to walk on, usually the next day. Then snap the clips off by striking them along the line of the joint, never across it, and pull the wedges to reuse.
What you need
- Leveling clips in the width of your grout joint (which size?)
- Reusable wedges, about one day's worth
- A leveling plier
- A rubber mallet for removal
- Enough clips for the job: use the clip calculator
Step by step
- Prep the floor. Clips hold edges flush but don't fix a bad substrate. Get it flat first.
- Set the tile. Spread thinset with the right trowel, back-butter large tile, and bed the tile as usual.
- Slide in the clips. Push the clip base under the tile edge so the tab sits in the joint. Place one at least every 12 inches, and at least one on every edge, a couple of inches in from the corners.
- Set the next tile. Lay the next tile over the other half of the clip base, tight to the tab.
- Add the wedges. Push a wedge through each clip and tighten with the plier until both edges sit flush: snug, not crushed.
- Check and keep going. Run a hand across the joint. If an edge is still high, the tile needs more thinset, not more wedge pressure.
- Let it cure. Leave clips and wedges in place until the thinset can take foot traffic. Check the bag; it's usually overnight.
- Remove the clips. Strike the clip tops along the line of the joint with a rubber mallet or the side of your foot, then pull the wedges.
- Clean the joint and grout. Make sure no clip pieces are left standing in the joint, then grout as normal.
When and how to remove leveling clips
- Wait until the thinset has cured enough to walk on, usually the next day. Pull too early and tiles can shift.
- Strike along the joint, not across it. A sideways hit can pull a tile edge or chip it.
- On walls, tap with a rubber mallet in the direction of the joint.
- Rinse wedges in water before thinset dries on them, so they slide cleanly next time.
Common mistakes
- Overtightening wedges until the tile bows or the clip snaps.
- Using clips to make up for a floor that isn't flat.
- Clips too far apart on large or thin tile. Space them closer, 6–8 inches.
- Mixing clip widths in one room.
- Grouting over broken clip pieces left in the joint.
Frequently asked questions
How long do you leave tile leveling clips in?
Until the thinset has cured enough to walk on, usually overnight. Follow the cure time on your thinset bag; cold rooms take longer.
Which way do you knock off leveling clips?
Along the line of the joint, never across it. Striking across the joint can lift or chip the tile edge.
Can you grout over leveling clips?
You grout over the clip base, which stays under the tile, but the snapped-off tops and any broken pieces must come out of the joint first.
How tight should leveling wedges be?
Snug enough that both tile edges sit flush. If you have to crank hard, the tile needs more thinset underneath.